
 USD
USD  USD
USD  GBP
GBP  EUR
EUR  INR
INR  ZAR
ZAR  AUD
AUD  CAD
CAD  MYR
MYR  SGD
SGD  THB
THB  HKD
HKD  BRL
BRL  AED
AED 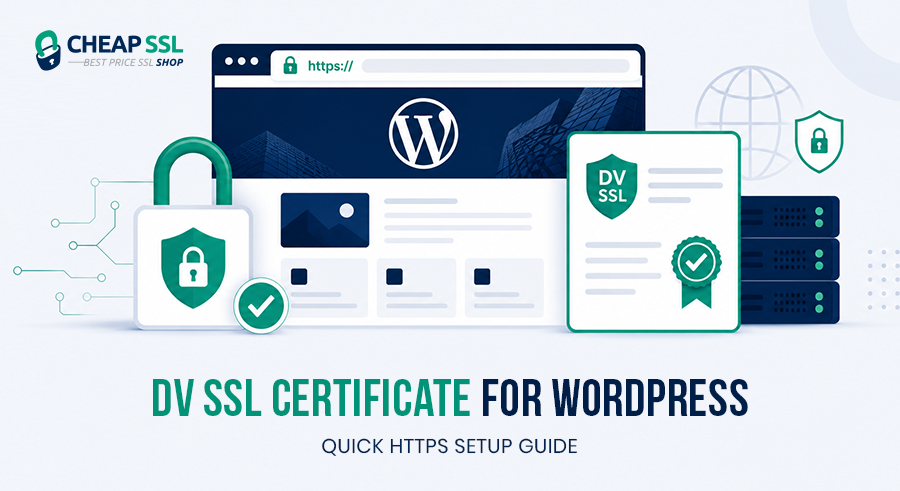
A surprising number of WordPress websites still run on plain HTTP. Browser warnings, decline in user confidence, and negative impact on SEO are the results of this. Search engines increasingly see HTTPS as a baseline necessity rather than an optional feature.
Fixing this is not complicated; a DV SSL certificate is the quickest solution for the majority of WordPress site owners. With modern hosting companies, it is inexpensive, easy to activate, and often takes only a few minutes to configure.
This guide explains how to quickly and easily set up HTTPS even if you don’t know anything about servers.
Why DV SSL Is the Right Starting Point for Most WordPress Sites
SSL certificates generally fall into three categories:
- DV – Domain Validation
- OV – Organization Validation
- EV – Extended Validation
The difference is mainly in how identity verification works.
DV SSL only verifies domain ownership. You prove control over the domain through email, DNS, or hosting verification, and the certificate gets issued automatically. Because there is no business verification involved, issuance is extremely fast.
That simplicity makes DV SSL the most practical starting point for WordPress websites. Importantly, DV SSL still provides strong encryption. The level of HTTPS encryption is effectively the same as higher-tier certificates. What changes with OV and EV is the level of organizational identity validation, not the core encryption itself.
For blogs, portfolios, company websites, landing pages, and even smaller eCommerce stores, DV SSL is usually more than enough.
Step by Step SSL Certificate Installation on WordPress
Here’s the full process from start to finish. Each step is straightforward, but the order matters — don’t skip ahead.
Step 1 – Activate SSL Certificate in Hosting Panel
Most hosting providers allow SSL activation directly from the control panel. Common methods include,
- One-click SSL activation button in your dashboard
- AutoSSL tool (common in cPanel environments)
- A dedicated SSL manager under your domain settings
The validation process usually happens through:
- Email verification
- DNS verification
- Automatic hosting validation
Once validation completes, the certificate is issued automatically.
Step 2 – Install Certificate on Hosting Account
After issuance, the certificate needs to be attached to the correct domain. Most modern hosts handle this automatically, but manual SSL managers are still available in dashboards like,
- cPanel – navigate to Security → then select SSL/TLS
- Plesk – under Websites & Domains → select SSL/TLS Certificates
- Managed WordPress panels – usually under Domains or Security settings
Once applied, HTTPS becomes available immediately in most cases.
Step 3 – Update WordPress Site URL to HTTPS
Inside the WordPress admin panel:
- Go to Settings > General
- Update both fields
- WordPress Address URL
- Site Address URL
- Change them from http://example.com to https://example.com
This makes sure WordPress generates secure URLs internally.
Important: Make sure the SSL certificate is fully active before making this change. Updating these URLs before the certificate is live can lock you out of the admin panel.
Step 4 – Force Secure Redirects
Visitors accessing the old HTTP version should automatically redirect to HTTPS. Most hosts provide a simple “Force HTTPS” toggle. Otherwise, redirects can be added through:
- .htaccess rules
- NGINX configuration
- Security plugins
This prevents duplicate HTTP and HTTPS versions of the site.
Step 5 – Fix Mixed Content Issues
Mixed content happens when your site loads over HTTPS but some resources like images, scripts and stylesheets still load through HTTP URLs. Browsers flag this and may block the insecure resources, which can break your layout or display warnings even after SSL is installed.
Common causes include
- Old image URLs in posts and pages
- Hardcoded theme or plugin assets
- Third-party scripts or embeds
SSL helper plugins can simplify cleanup, but manual updates may still be required for older sites. The goal is simple: every resource should load via HTTPS.
Step 6 – Verify the Installation
After the setup is completed
- Check the secure browser icon
- Open multiple pages across the site
- Test forms and login pages
- Run an online SSL checker
Make sure there are no warnings in major browsers like Google Chrome, Mozilla Firefox, or Microsoft Edge.
Common Issues After SSL Installation
SSL installation is usually straightforward, but a few issues appear frequently.
-
Mixed Content Errors
Older themes or plugins may still reference HTTP resources. This causes browsers to display warnings even though SSL is installed.
-
Missing Redirects
If HTTP redirects are not configured properly, both HTTP and HTTPS versions remain accessible. This can create SEO and caching issues.
-
Browser Cache Problems
Sometimes browsers continue showing the old insecure version because cached files are still stored locally.
-
Propagation Delays
In some hosting environments, SSL activation may take time to fully propagate across servers and DNS systems.
Most of these issues are temporary and relatively easy to fix.
What Changes After Installing DV SSL on WordPress
The first visible change is in the browser itself. Instead of displaying a “Not Secure” warning, browsers show a secure HTTPS icon. Google Chrome displays a tune icon, Firefox shows a shield next to the website address, while other browsers display the familiar padlock icon to indicate a secure HTTPS connection. That small visual indicator has a major psychological effect on visitors. Users trust secure websites more quickly, especially when entering login credentials, comments, or contact form information.
HTTPS also matters for search visibility. For many years, Google has used HTTPS as a ranking indication. Running on HTTP can still negatively impact credibility and trust signals, even though SSL by itself won’t significantly raise ranks.
From a security perspective, all communication between the visitor and the WordPress site becomes encrypted. This includes,
- Login credentials
- Contact form submissions
- Session cookies
- User comments
- Admin panel activity
Installing SSL also prepares the site for future integrations like payment gateways, memberships, or checkout systems. Most modern payment processors require HTTPS before allowing transactions.
Beyond technical benefits, HTTPS immediately improves credibility. Visitors often decide whether a website feels trustworthy within seconds of opening it.
Choosing the Right DV SSL Certificate for Your WordPress Setup
Not every WordPress setup needs the same type of DV SSL certificate. Here’s how to think through the options:
Single Domain DV SSL
This is the simplest option. It secures one domain only, such as
- example.com
- www.example.com
It works well for standard WordPress websites with no additional subdomains.
Wildcard DV SSL
Wildcard certificates secure the primary domain along with all first-level subdomains.
For example,
- blog.example.com
- shop.example.com
- support.example.com
This is useful if your WordPress ecosystem spans multiple sections or services.
Multi-Domain DV SSL
Multiple distinct domains can be protected under a single certificate because of multi-domain certificates. Agencies, developers, and companies that manage several websites find this useful.
Here are some of the DV SSL certificates available at CheapSSLShop:
| Certificate | Type | Price |
|---|---|---|
| ClickSSL Standard SSL Certificate | Single Domain | $3.99/yr |
| EssentialSSL DV Certificate | Single Domain | $5.99/yr |
| RapidSSL DV certificate | Single Domain | $14.00/yr |
| PositiveSSL DV Multi-Domain Certificate | Multi-domain | $15.00/yr |
| ClickSSL Wildcard SSL Certificate | Wildcard certificate | $29.00/yr |
| Thawte SSL123 DV Certificate | Single Domain | $32.00/yr |
| Sectigo DV WildcardSSL Certificate | Wildcard certificate | $65.00/yr |
| PositiveSSL DV Multi-Domain Wildcard Certificate | Multi-domain wildcard | $80.00/yr |
| Sectigo DV Multi-Domain SSL Certificate | Multi-domain | $80.00/yr |
| GlobalSign Wildcard SSL Certificate | Wildcard certificate | $350.00/yr |
Explore more DV SSL certificate options
Best Practices After Going Live
SSL installation is only the first step. Ongoing maintenance still matters.
- Keep WordPress core, plugins, and themes updated
- Monitor SSL expiration dates carefully
- Scan periodically for remaining HTTP references
- Maintain regular backups before major changes or migrations
A secure website depends on continuous maintenance and visibility into the environment.
Conclusion
For WordPress websites, DV SSL is among the quickest and most useful security improvements. In many cases, HTTPS may be implemented in a matter of minutes thanks to the simplification of the setup process by modern hosting providers. Better trust, encrypted communication, increased search credibility, and a more solid basis for future expansion are the immediate outcomes. For the majority of WordPress website owners, using a DV SSL certificate to enable HTTPS is now required in order to operate a modern website responsibly.
A DV SSL certificate is the fastest way to move WordPress to HTTPS, remove browser warnings, and establish a secure experience for visitors, logins, forms, and future integrations.